
If your showers start smelling like chlorine again, your water pressure drops, or sediment shows up where it should not, your filtration system is telling you something. Knowing how to replace whole house water filter system components the right way can protect water quality, prevent leaks, and help your home keep getting the clean, better-tasting water you expect.
When replacement actually makes sense
A lot of homeowners use the word replace when they really mean change the filter cartridge. That distinction matters. Some whole-house systems are built around a reusable housing with replaceable cartridges or media. Others eventually need a larger component swap, such as a tank, bypass valve, O-rings, fittings, pressure gauges, or prefilter housing.
If your system is still structurally sound, replacing the filter media or cartridge may be all you need. If the housing is cracked, the tank is near the end of its service life, the internal distribution parts are failing, or the system no longer matches your water conditions, a full system replacement may be the better move.
That is especially true if your water source has changed. A system chosen for city water chlorine reduction may not be enough for a home now dealing with iron, sulfur, or sediment from a well. In that case, replacing parts without correcting the treatment design can waste time and money.
Before you replace a whole house water filter system
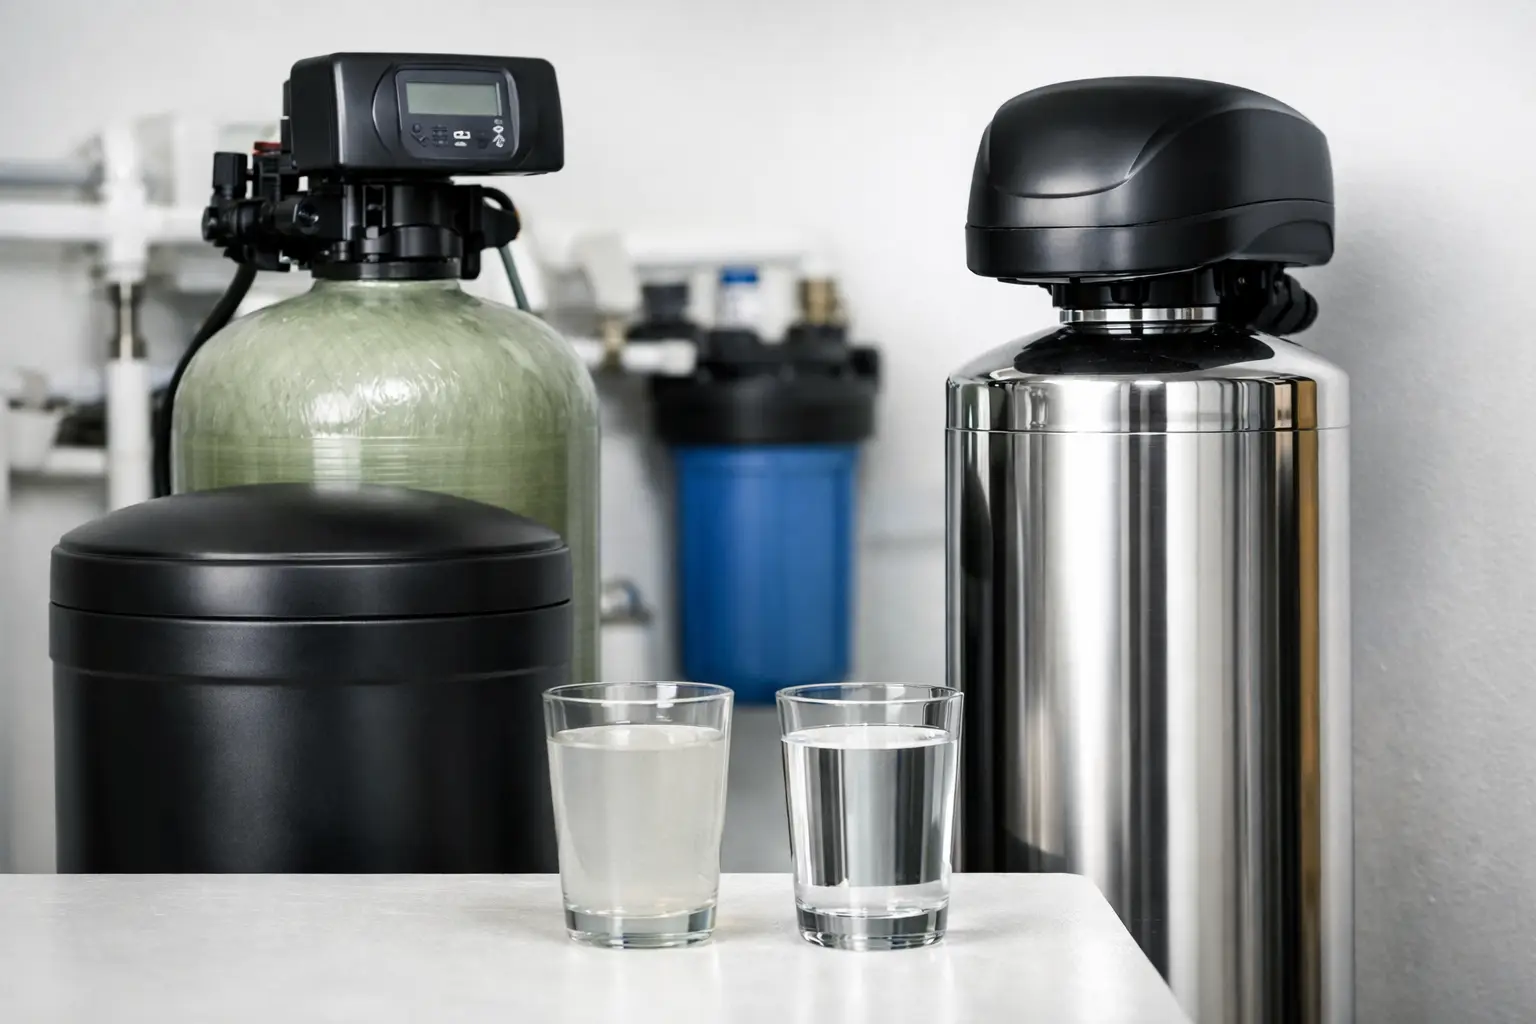
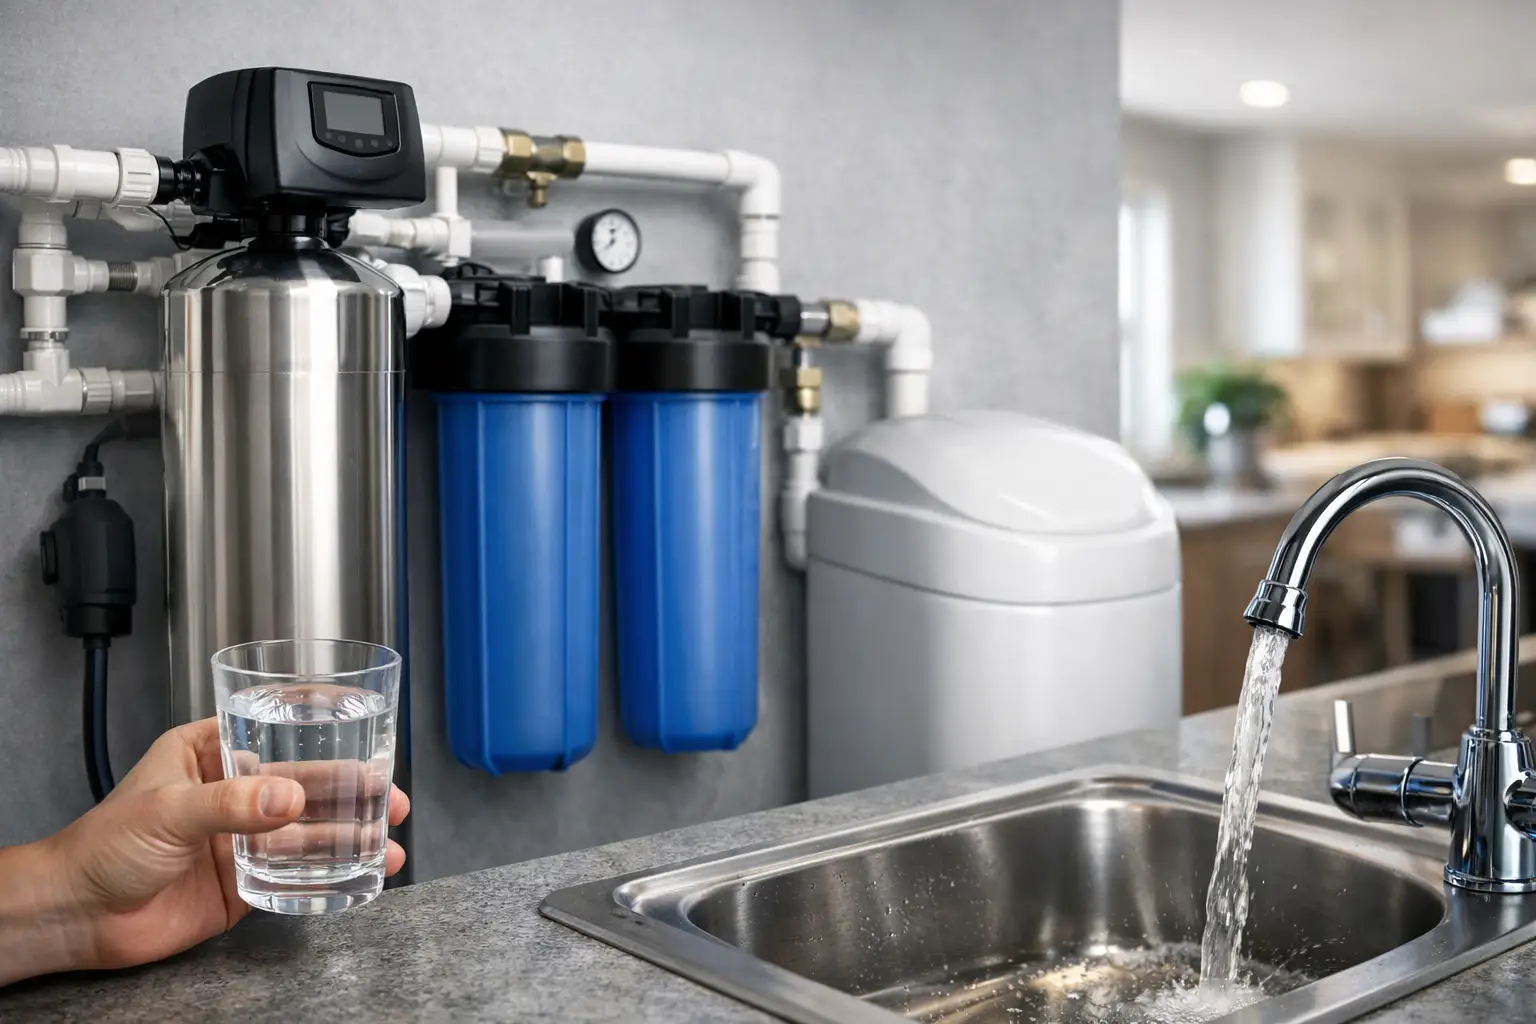
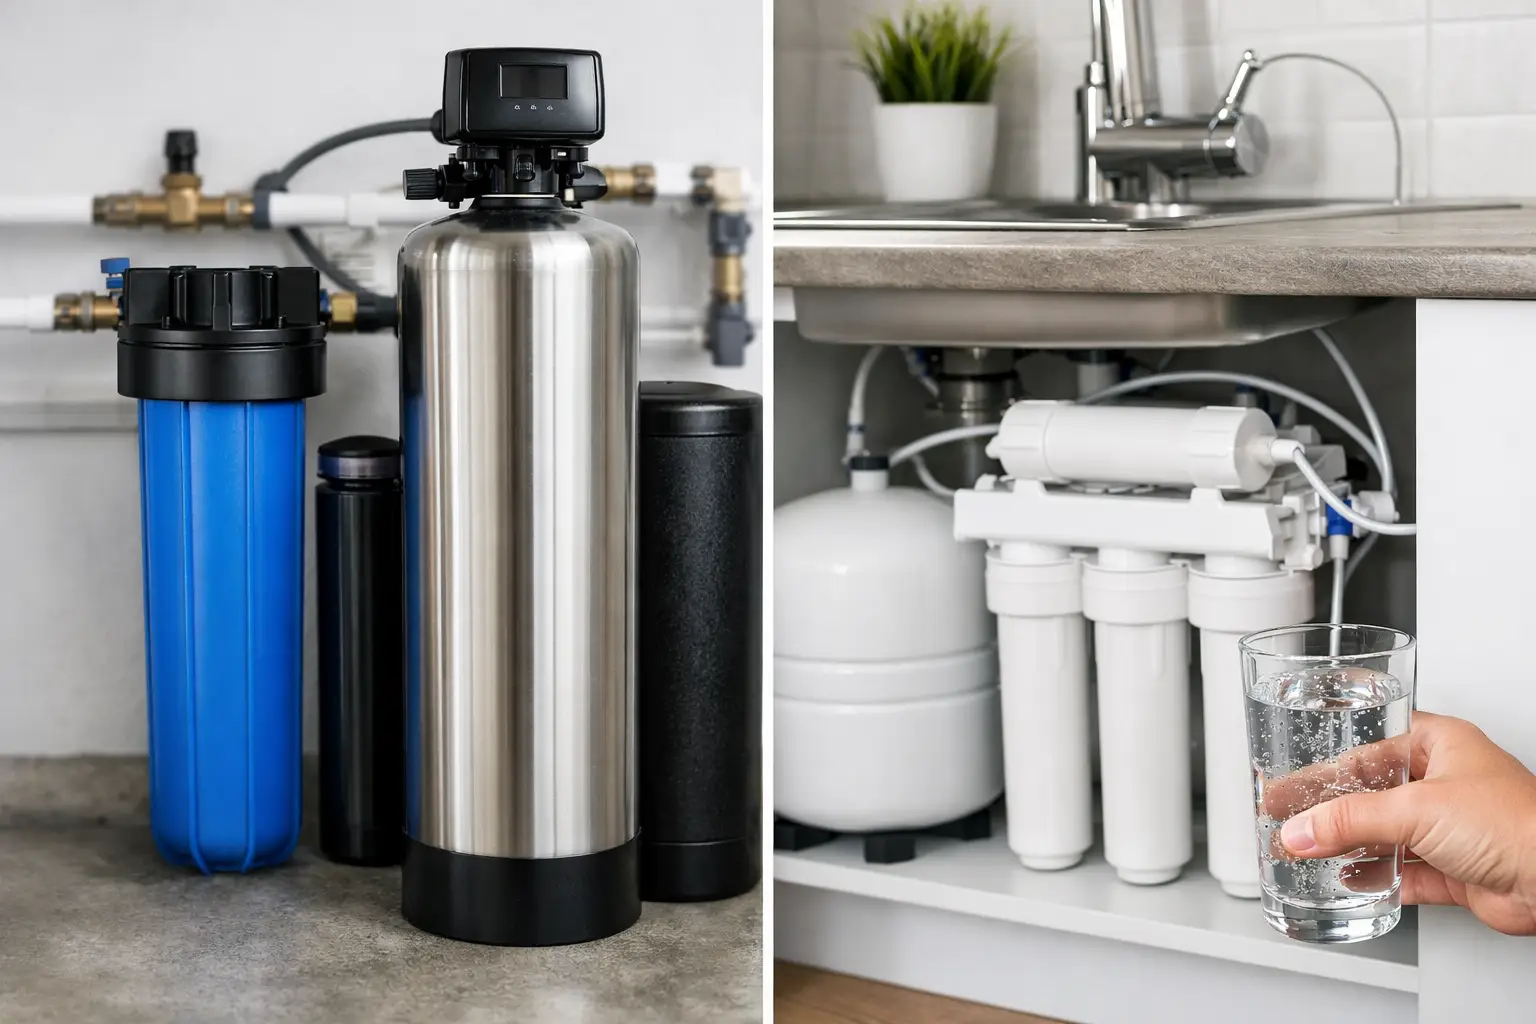
Start by identifying what type of system you have. A single-cartridge sediment filter, a big blue housing, a backwashing carbon tank, a combination softener and filter setup, and a UV-equipped well water system all have different replacement steps. The basic idea is similar, but the details can change fast.
Take a photo of the unit label, note the model number, and confirm whether you are replacing a cartridge, media tank, control head, or the full assembly. If you have municipal water, the issue may be chlorine, chloramine, taste, and sediment. If you have well water, the system may also be addressing iron, sulfur, bacteria, or pH. That affects which replacement parts are appropriate.
You should also check the age of the system. A cartridge changed every few months is normal. A carbon tank that has been in service for many years may be losing effectiveness even if water still flows. Performance decline can be gradual, which is why homeowners often notice the taste or odor returning before they realize the media is spent.
Tools and materials you may need
For a basic cartridge replacement, you usually need a housing wrench, food-grade silicone lubricant for O-rings, a bucket, towels, and the correct replacement cartridge. For larger system replacement, you may also need pipe cutters, fittings, shutoff valves, Teflon tape, a pressure relief step, and possibly plumbing support if the system is hard-piped in a tight mechanical room.
This is one of those jobs where getting the exact replacement matters more than getting a quick replacement. A cartridge with the wrong micron rating, flow rate, or contaminant target can create pressure issues or leave problem contaminants untreated.
How to replace whole house water filter system cartridges
Shut off water and release pressure
Turn off the main water supply or use the bypass valve if your system has one. Then open a downstream faucet to release built-up pressure. Do not skip this step. Pressurized housings can be difficult to remove and messy when opened.
Place a bucket under the filter housing before loosening it with the housing wrench. Some water will spill out even after pressure is relieved.
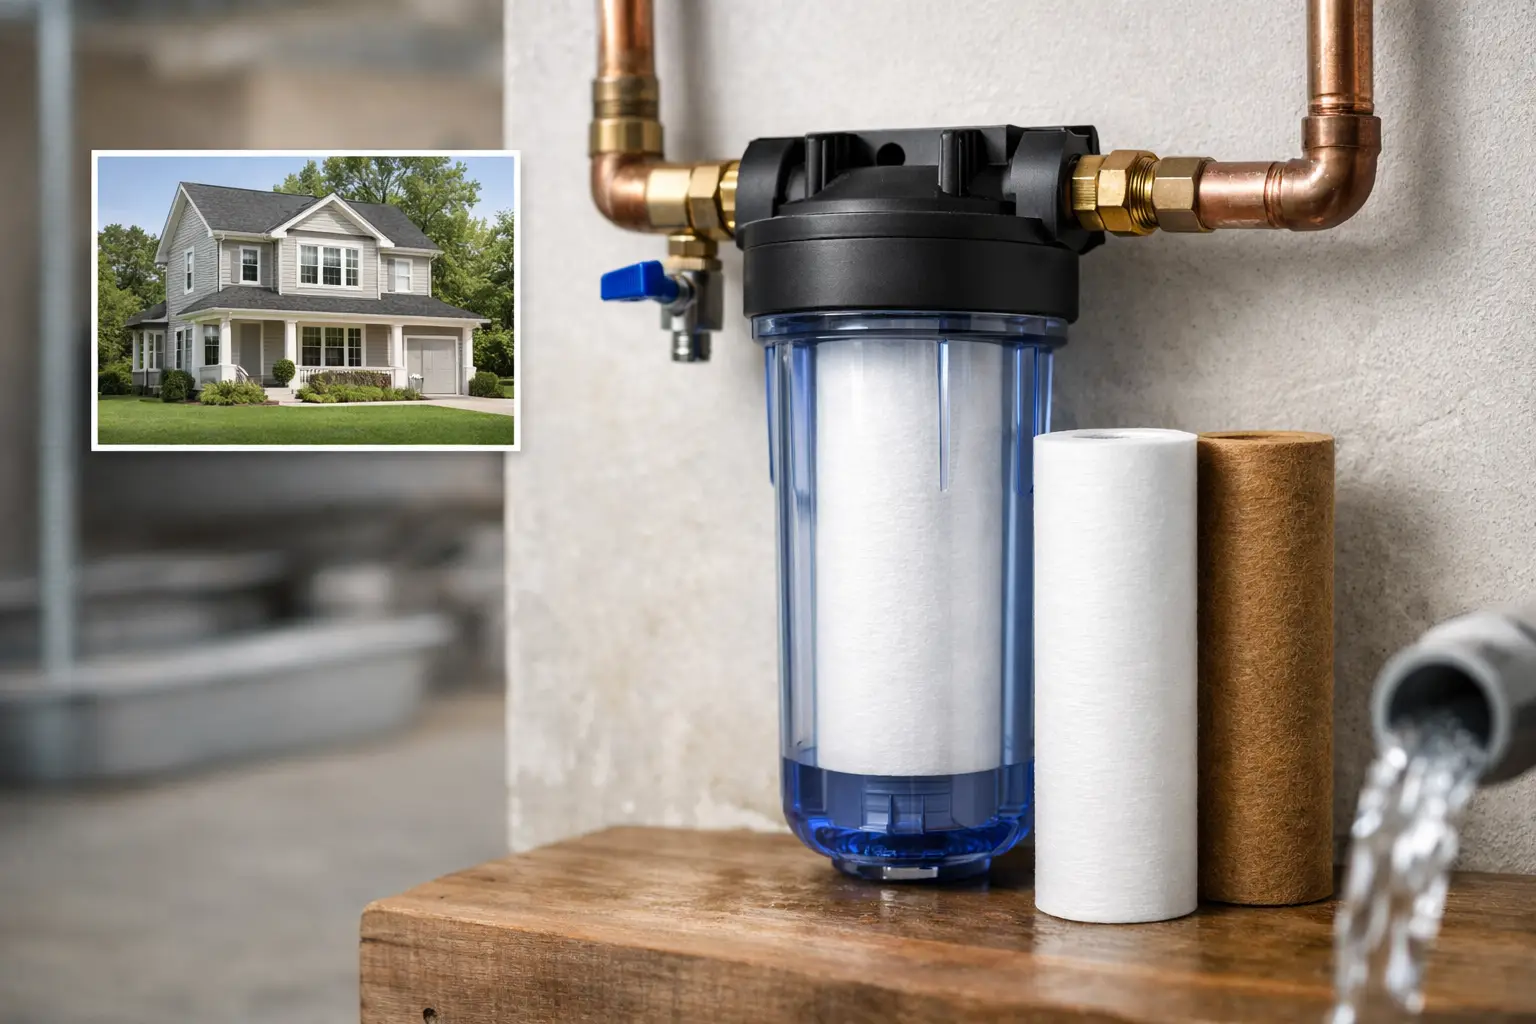
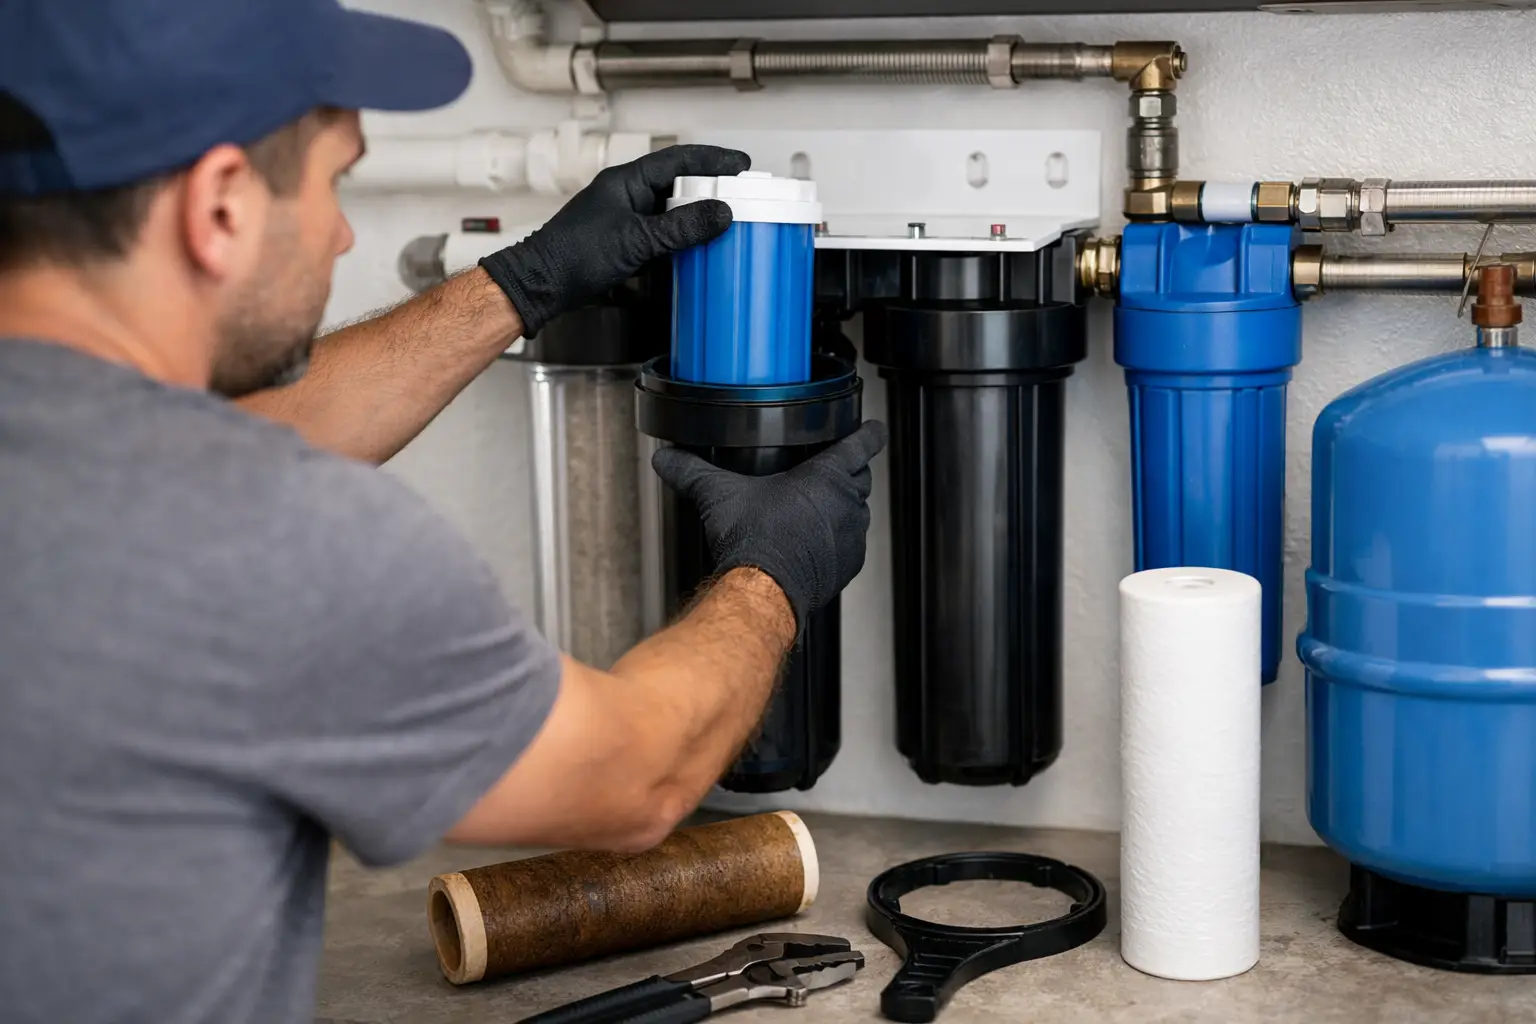
Remove the old cartridge and inspect the housing
Once the housing is off, pull out the old cartridge and check the inside for sediment buildup, slime, discoloration, or cracks. Wash the housing with mild soap and rinse thoroughly. Inspect the O-ring carefully. If it looks flattened, brittle, stretched, or nicked, replace it.
A worn O-ring is one of the most common reasons a filter housing leaks after a cartridge change. A small amount of food-grade silicone lubricant helps it seat properly.
Install the new cartridge correctly
Set the new cartridge in place exactly as the manufacturer specifies. Some cartridges are directional and some are not. Make sure the housing threads are aligned before tightening. Hand-tighten first, then use the wrench only enough to secure it. Overtightening can damage the housing or make the next replacement harder than it needs to be.
Turn water back on slowly
Restore water gradually. If you open the valve too fast, you can create a pressure surge that stresses the housing and fittings. Check for leaks around the housing, the sump, and the fittings. Let water run briefly through a nearby faucet to flush air and any loose carbon fines if you installed a carbon filter.
How to replace a full whole-house system
Confirm the replacement system fits your water problem
If you are replacing the entire unit, do not assume the old setup was correct just because it has been there for years. Many homes have undersized or poorly matched systems installed by previous owners. Water testing and a review of your flow rate, bathroom count, plumbing size, and contaminant concerns can prevent repeating the same problem.
A home dealing with chlorine and chloramine may need catalytic carbon rather than standard carbon. A house with hard water may need a softener paired with filtration. A well water home with sediment, iron, and sulfur usually needs staged treatment, not a one-size-fits-all tank.
Bypass, depressurize, and disconnect the old system
Turn off the water, engage bypass if available, and relieve pressure. Disconnect power if the system includes UV, electronic controls, or a powered valve. Then disconnect the plumbing connections carefully. Keep towels nearby and expect residual water in tanks, housings, and pipes.
Large tanks can be heavy, especially if they still contain media or water. If the system is old or difficult to access, this may be the point where professional installation makes more sense than a DIY attempt.
Install the new unit with proper orientation and support
Set the new system in place according to the flow direction marked on the valve or housing. Dry-fit connections before sealing them. If you are working with threaded fittings, use the correct amount of thread sealant. Too little can leak. Too much can create fit issues.
Make sure the plumbing is properly supported. A heavy filter assembly should not hang awkwardly from rigid pipe without bracing. If the system includes drain lines, bypass valves, or prefiltration stages, install each one in the intended order.
Start up and flush the system
Once connected, slowly restore water and check every joint. Many new systems need an extended flush before regular use. Carbon media often releases harmless fines at startup, and some tanks need a full rinse cycle to clear installation debris and settle the bed.
Follow the startup instructions closely. Backwashing systems, softeners, and specialized contaminant filters may require programming, regeneration setup, or drain testing before they are ready for normal service.
Common mistakes homeowners make
The biggest mistake is treating all whole-house filters like they do the same job. A sediment cartridge, a chlorine reduction tank, and an iron filter are not interchangeable. Replacing a spent component with the wrong type can leave the original problem untouched.
Another common issue is ignoring pressure and flow requirements. A filter that is too restrictive can make showers weak and appliances slow to fill. A system that is too small for the home can wear out early or fail to provide consistent treatment.
There is also the leak problem. Most post-replacement leaks come from cross-threaded housings, damaged O-rings, overtightened fittings, or skipping the slow restart. Those are small details, but they make a big difference.
DIY or professional help?
For a straightforward cartridge change, many homeowners can handle the job themselves. If your setup uses standard housings, accessible shutoff valves, and clear replacement specs, DIY is reasonable.
For tank-based systems, mixed contaminant problems, well water treatment, or any job involving replumbing, a professional install is often the safer choice. Not because the process is impossible, but because water treatment only works well when the equipment, sizing, and setup all match the home. That is where expert guidance can save you from replacing the wrong thing.
Companies like Authentic Water USA often help homeowners sort out whether they need a simple maintenance change, a component replacement, or a better overall system design. That kind of support is useful when the symptoms point to more than one water issue.
How often should replacement happen?
It depends on the filter type, your water quality, and your household water use. Sediment cartridges may need replacement every few months in some homes. Carbon cartridges often last longer, but not always. Tank media can last for years, though service life varies based on chlorine level, chloramine exposure, iron load, sediment, and total gallons treated.
The best schedule is not guesswork. It is based on water testing, manufacturer guidelines, and paying attention to changes in taste, smell, staining, flow, and household comfort.
Clean water should feel dependable, not confusing. If your system is underperforming, replacing the right part at the right time is one of the simplest ways to protect your home, your plumbing, and the water your family uses every day.